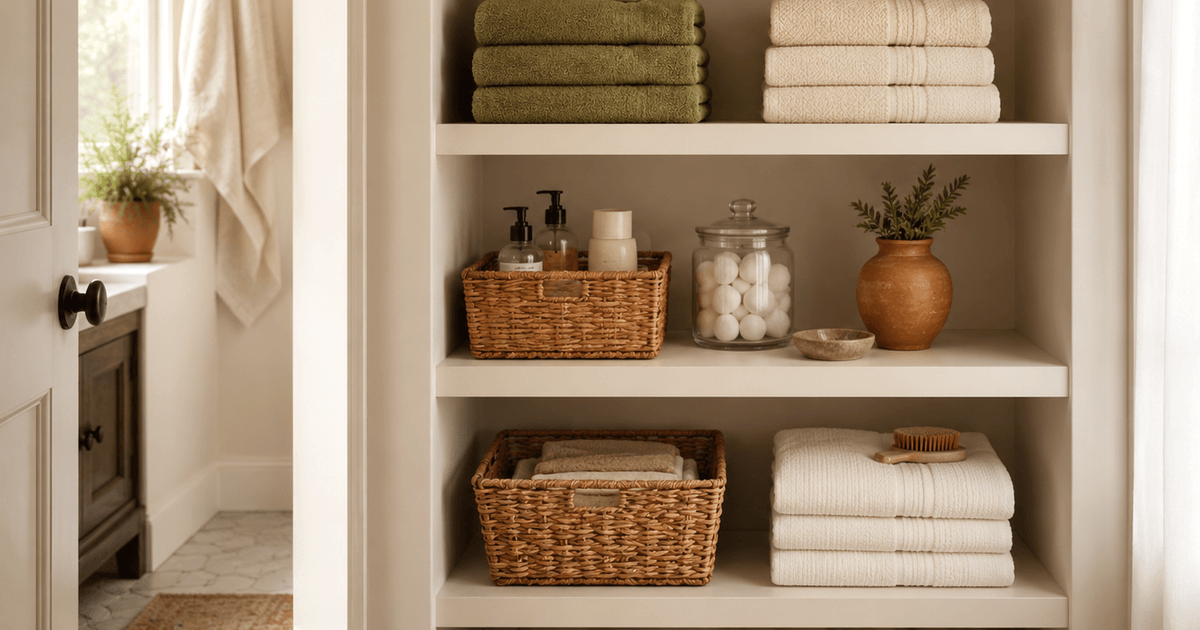
Bathroom Storage
Best Bathroom Vanity Organizers: Counter, Drawer, and Cabinet Solutions for 2026
Read the Guide
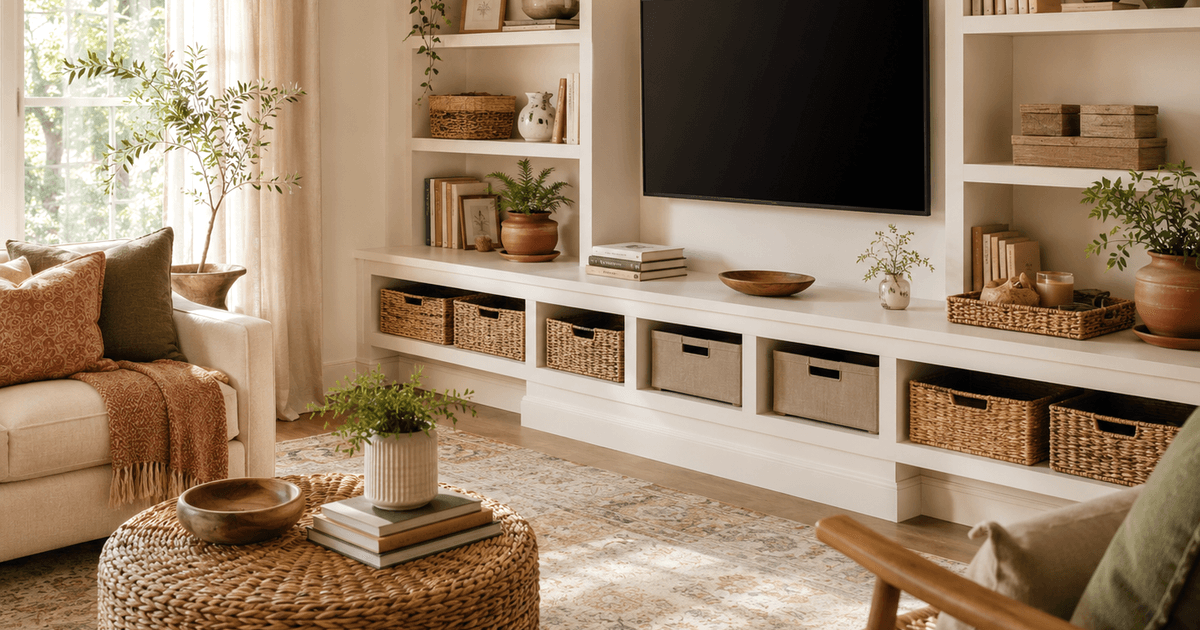
Browse by Room
Every room hub is organized around common storage zones, renter constraints, product types, and practical setup decisions.
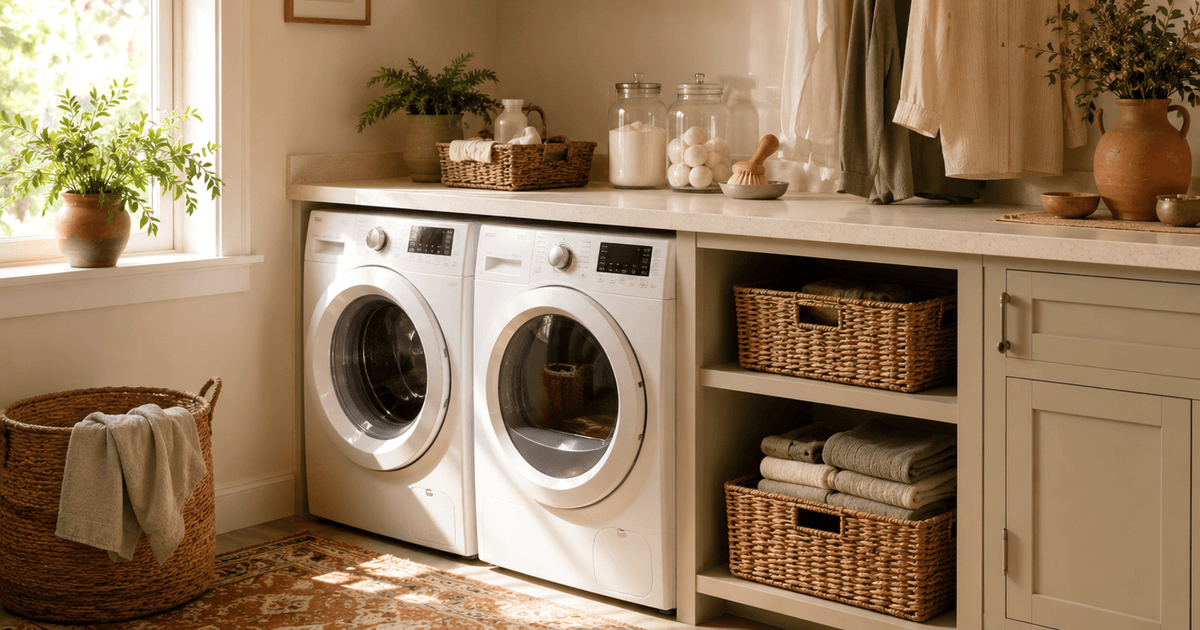
Start with Your Problem
Small-space storage works best when the guide starts with the real constraint: no pantry, no closet, awkward plumbing, or gear that never makes it back to a shelf.
Editor-Reviewed Picks
Roundups with clear fit notes, price ranges, affiliate disclosure, and practical trade-offs before you click.
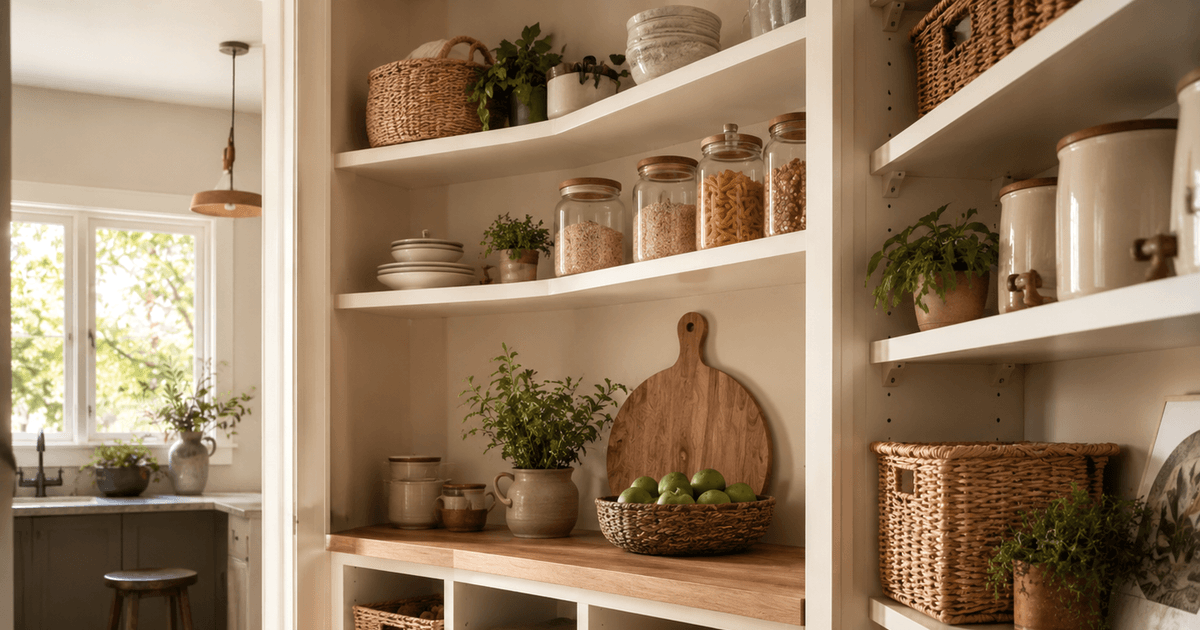
Most Useful Guides
A curated path through the guides that solve daily friction fastest: laundry overflow, small bathrooms, closet systems, apartment storage, and food containers.
Room guides, product comparisons, and seasonal organizing ideas without clutter or hype.
No spam. Unsubscribe at any time.